
How to Create Seeking Christmas Ornaments
My favorite element of Seeking Christmas is the ornament activity. When you purchase Seeking Christmas, you will find instructions for using your ornaments each day as well as instructions for downloading here by signing up for email updates.
There are so many ways these ornaments can be created. I can’t wait to see all the creations from this Christmas season. Whether you are crafty or not, you will love creating these with your family.
When you sign up for email updates, you will receive your free download. Ornaments can be created in sizes of 2 inch, 3 inch, or 3.5 inch.
In addition, check the Store page for all kinds of ornament info.
If you are not the crafting type, you may prefer to simply cut out the ornaments, glue the back and front sides together, tie a string and call it a day. You can take it a step further by putting a slightly larger colored cardstock circle between the front and back pieces. Or you can even laminate. This is the simplest and fastest way to create these ornaments.
Some may choose to use photo insert ornaments to display the cutouts. This involves almost no crafting.
But for the crafting lovers, we have lots of ways you can do this. And since I’m not crafty, I am really excited for you to share with me your creations! For now, I will share some of my materials and completed ornaments to spark some ideas for you.
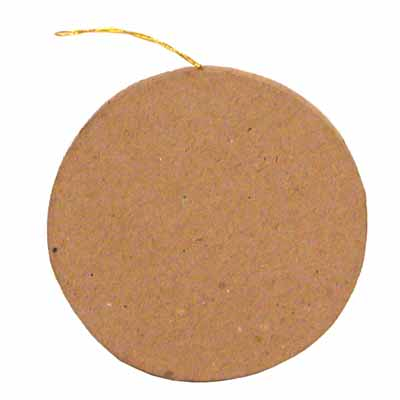
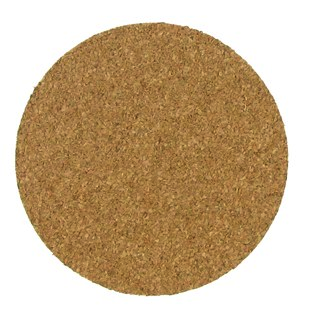
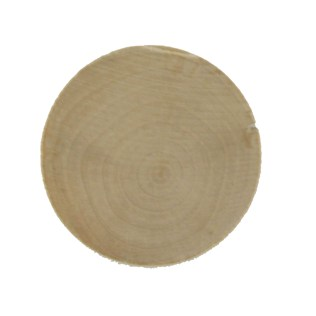
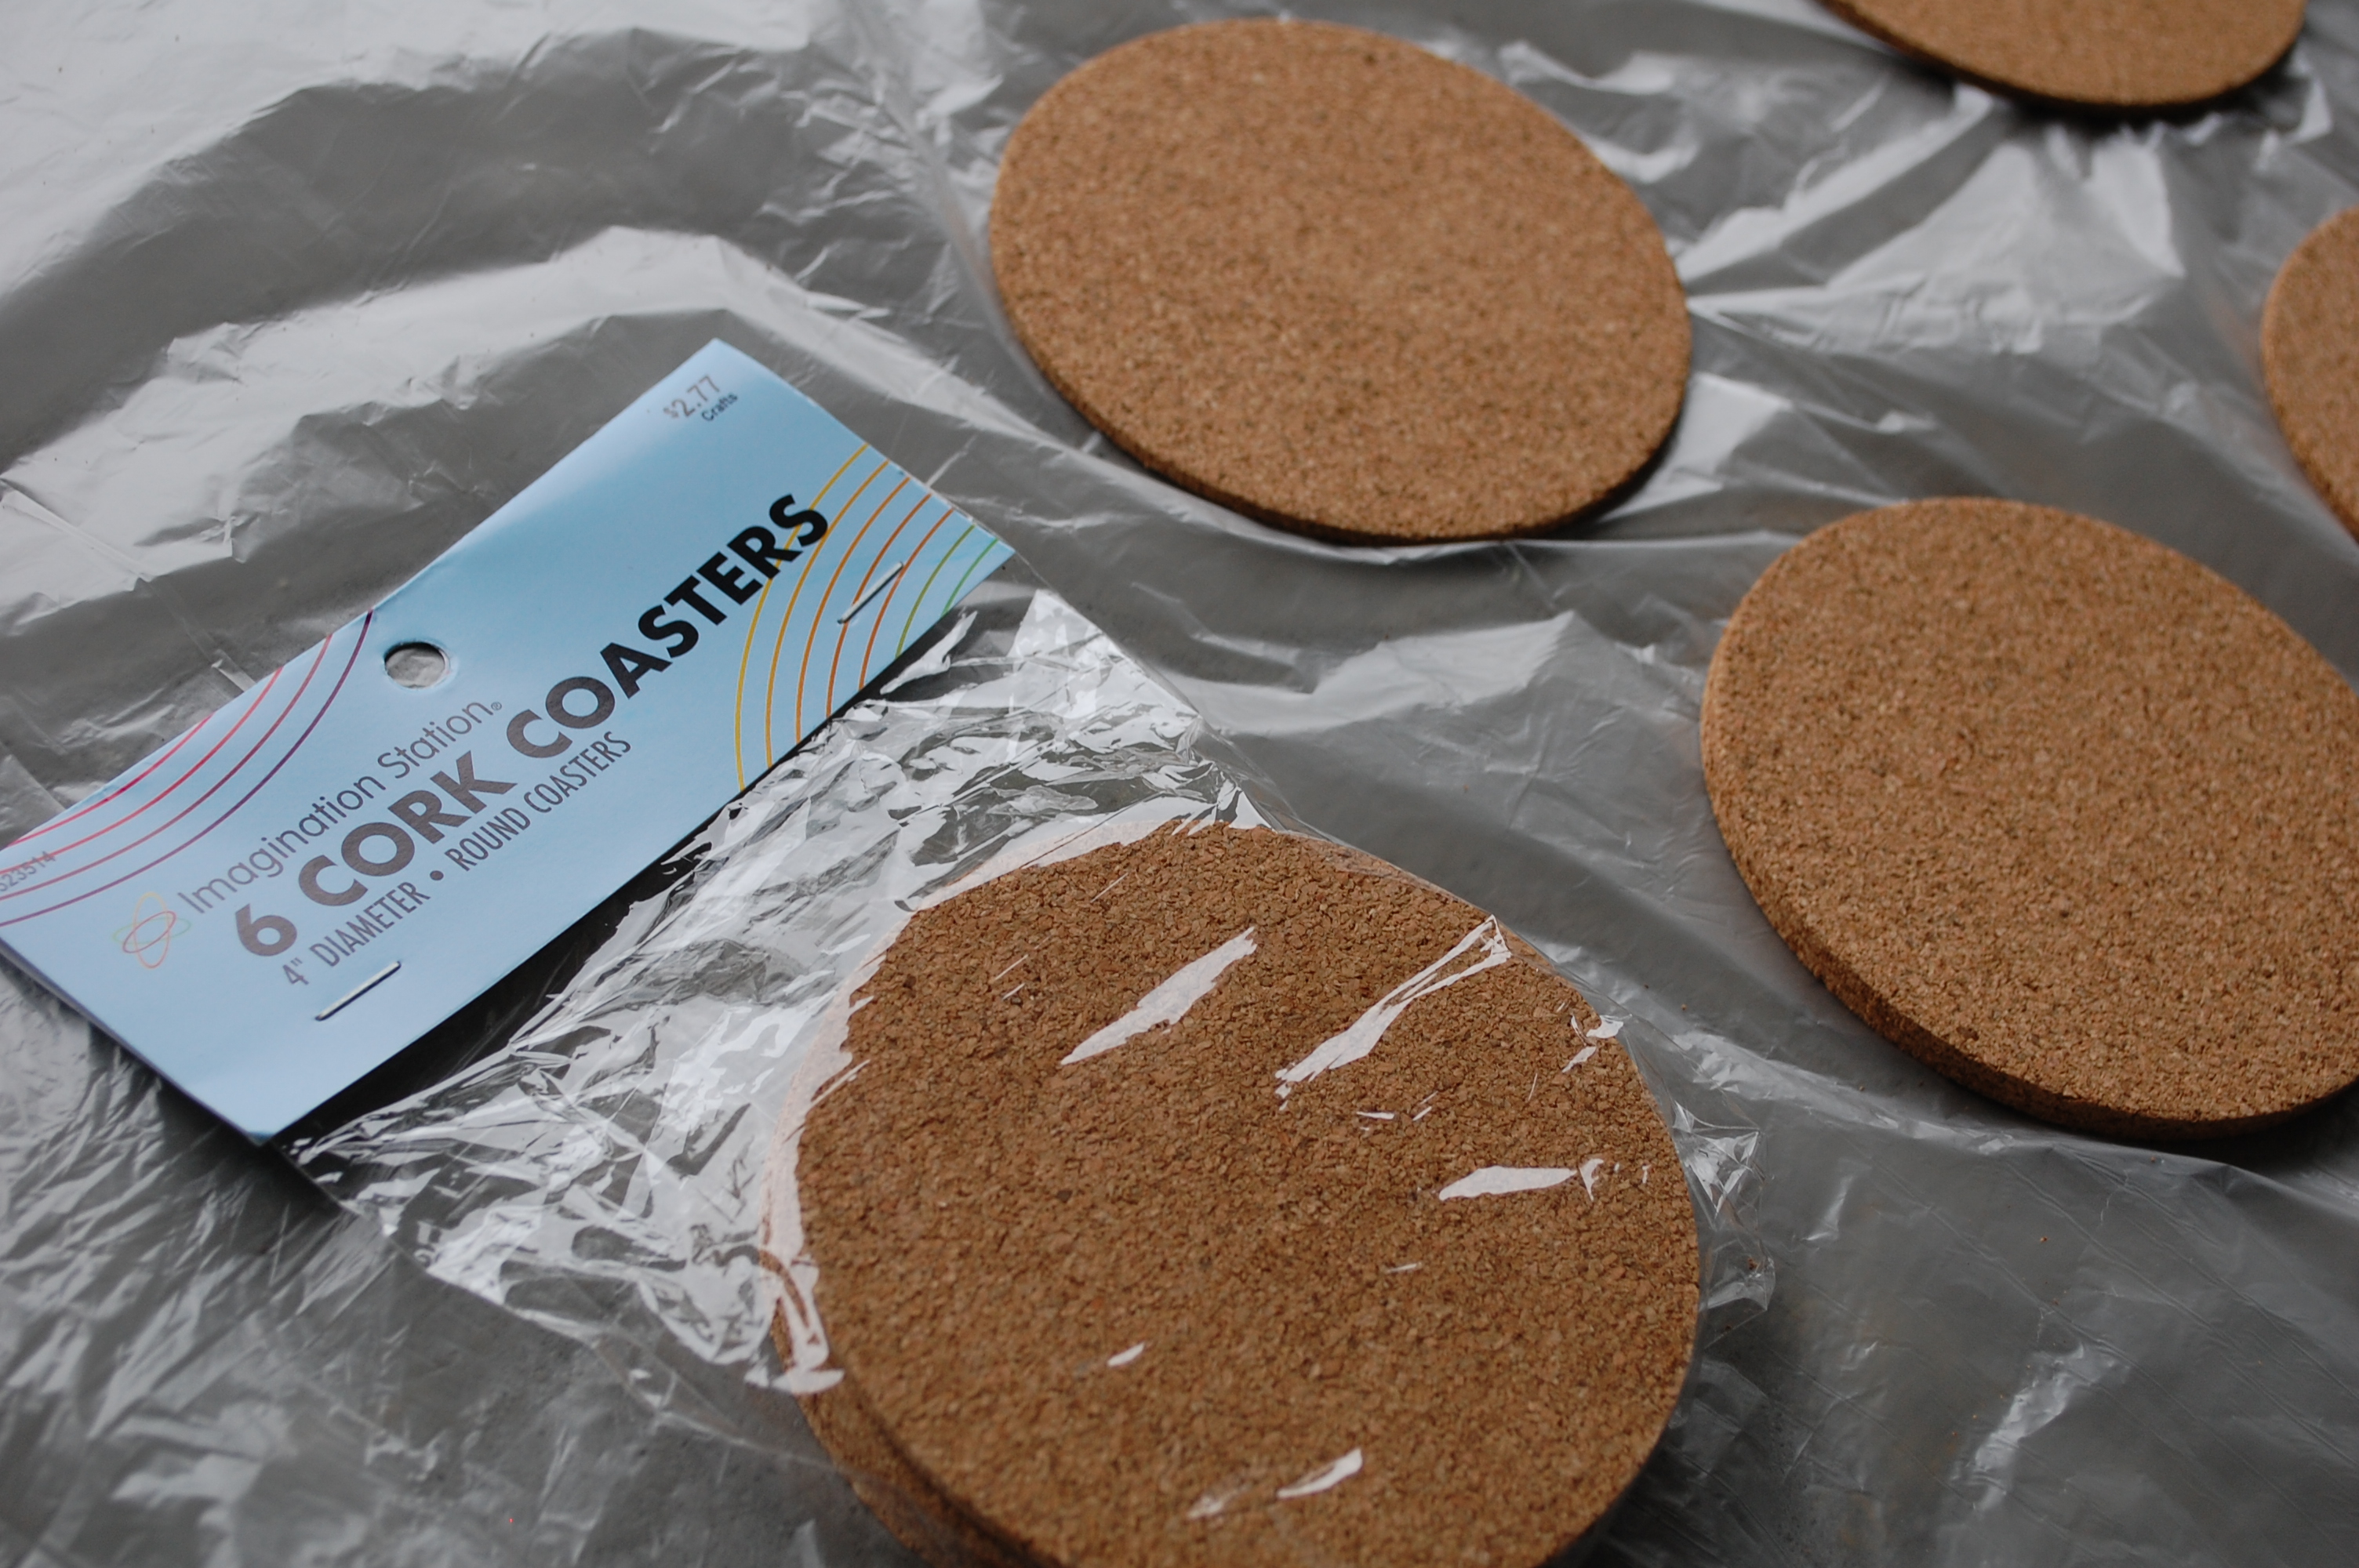
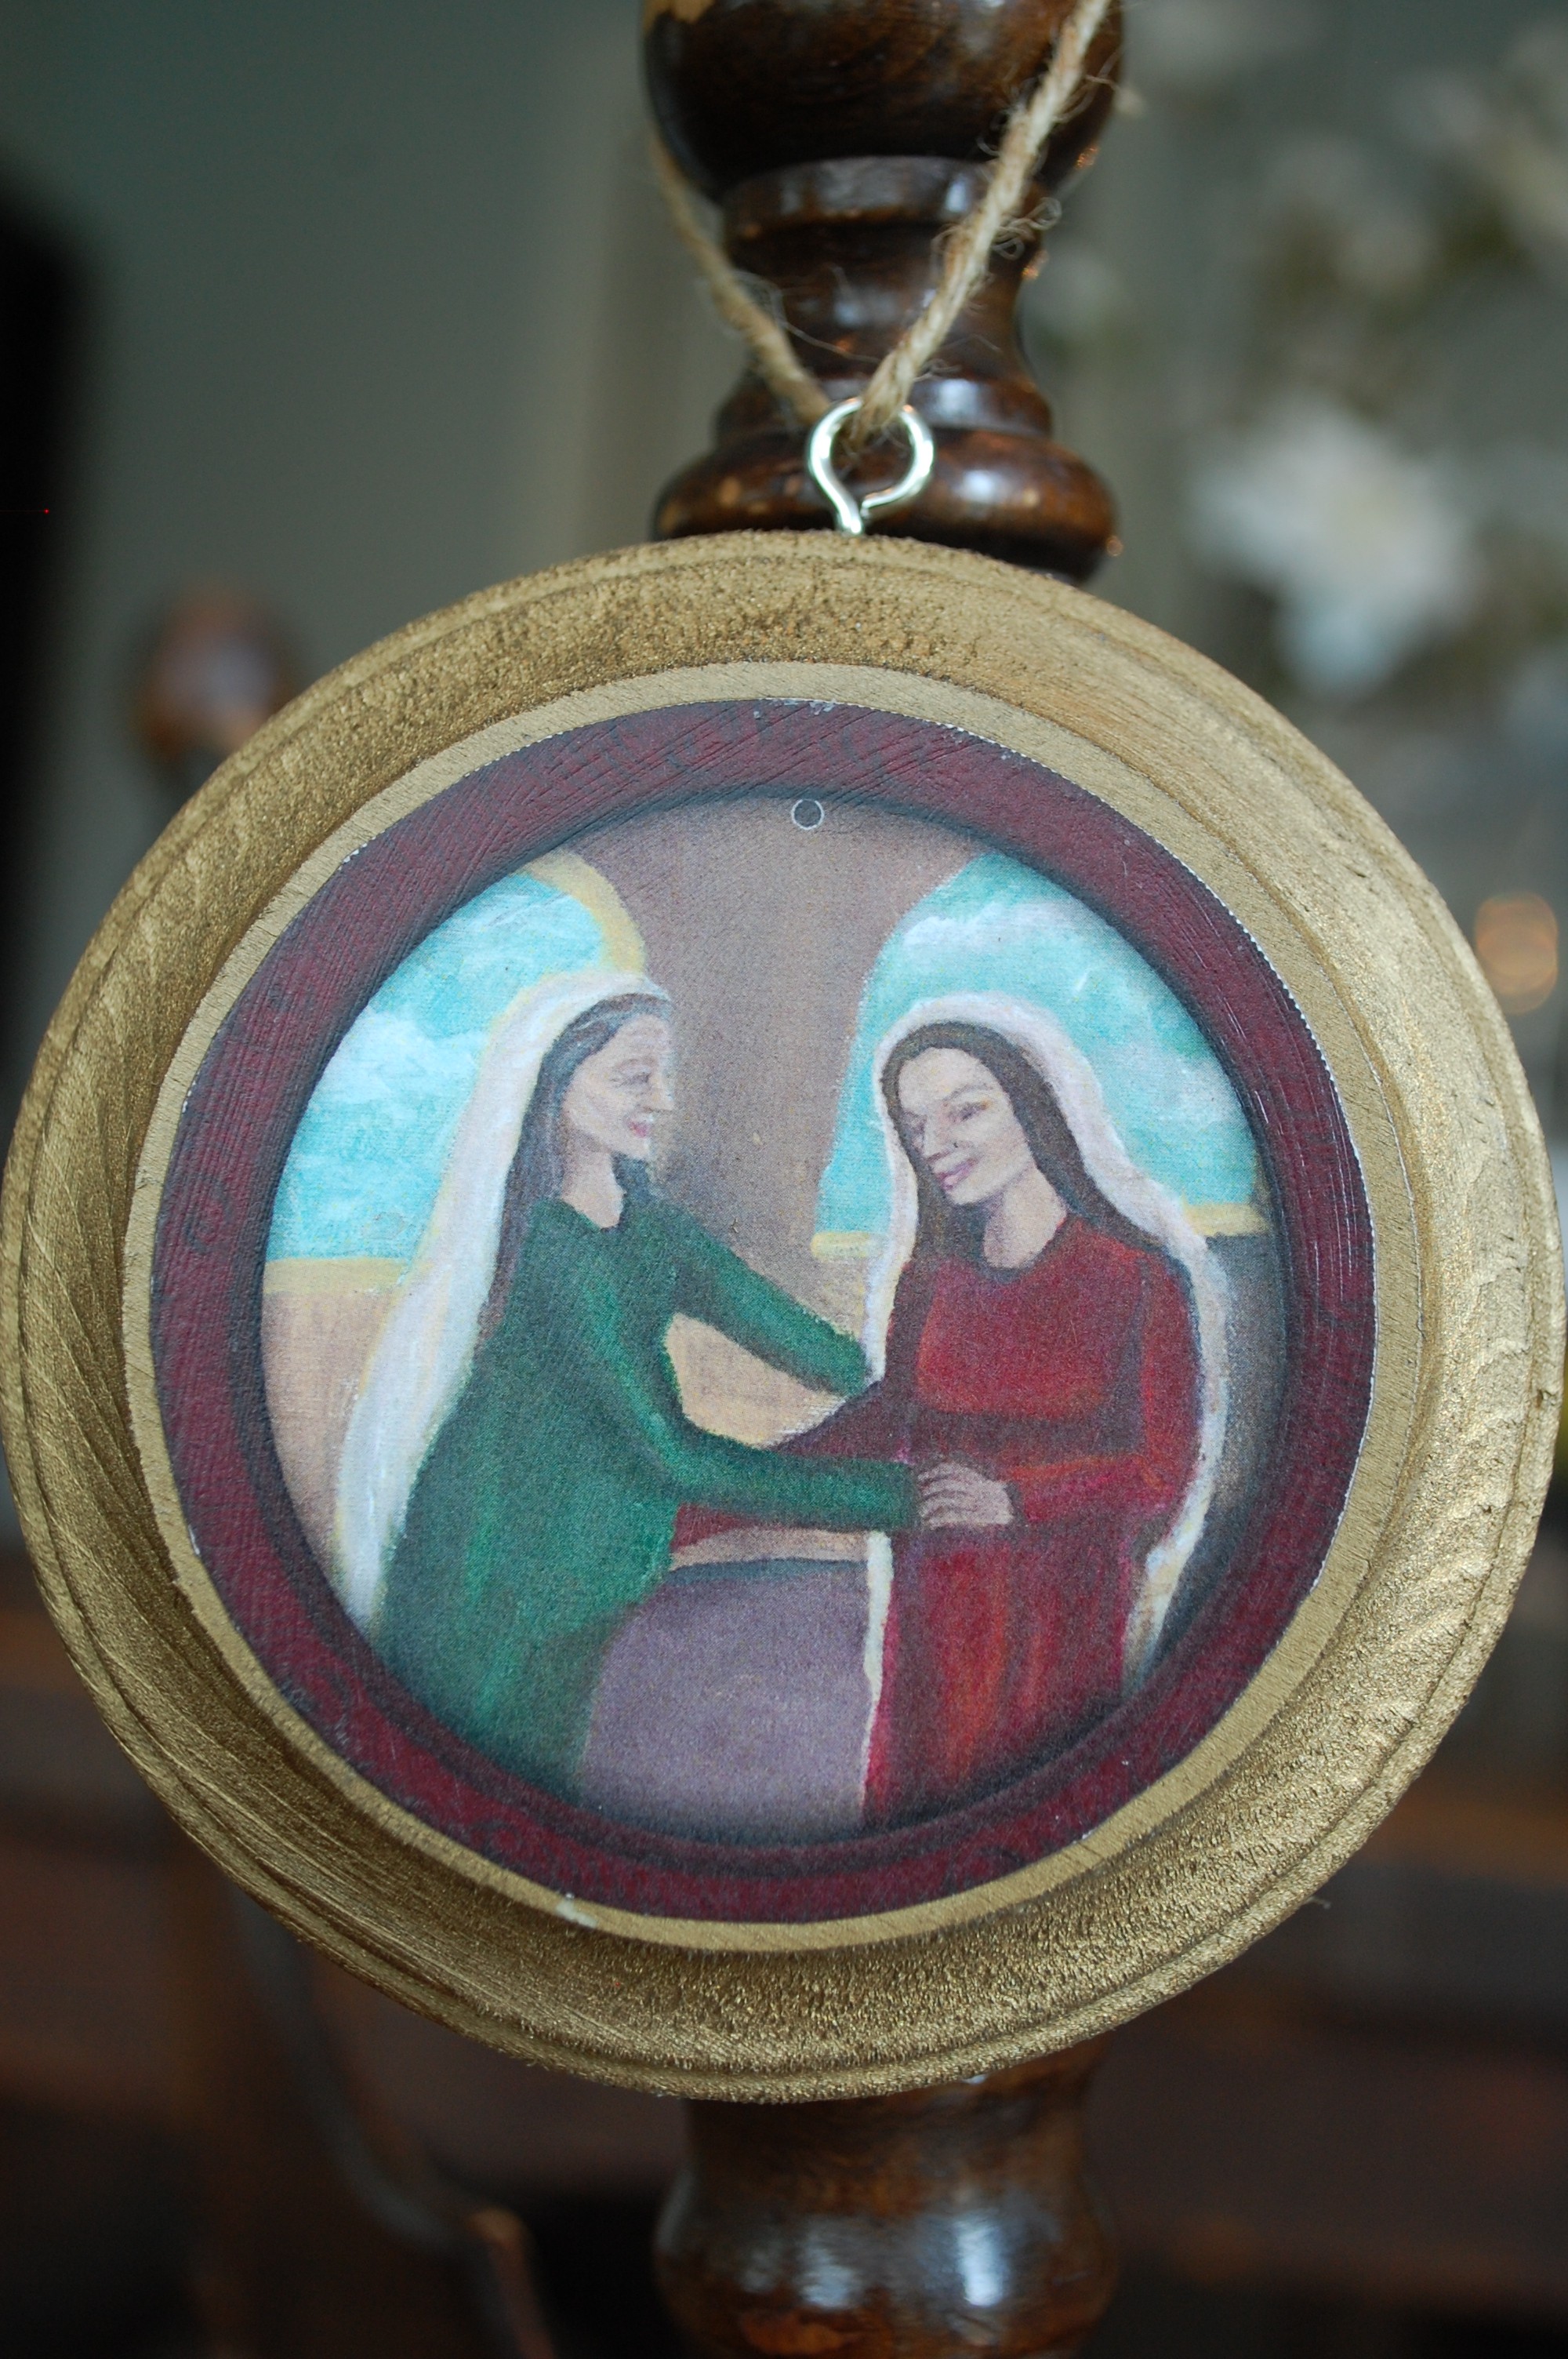
Ornaments can be created with many types of materials. Below you will see wooden circles, cork coasters, paper mache ornaments, and porcelain. All of these items I purchased at Hobby Lobby.
For the wooden circles, just pick up a bag of eye screws (located right with the wooden circles at craft stores) and some ribbon or twine.

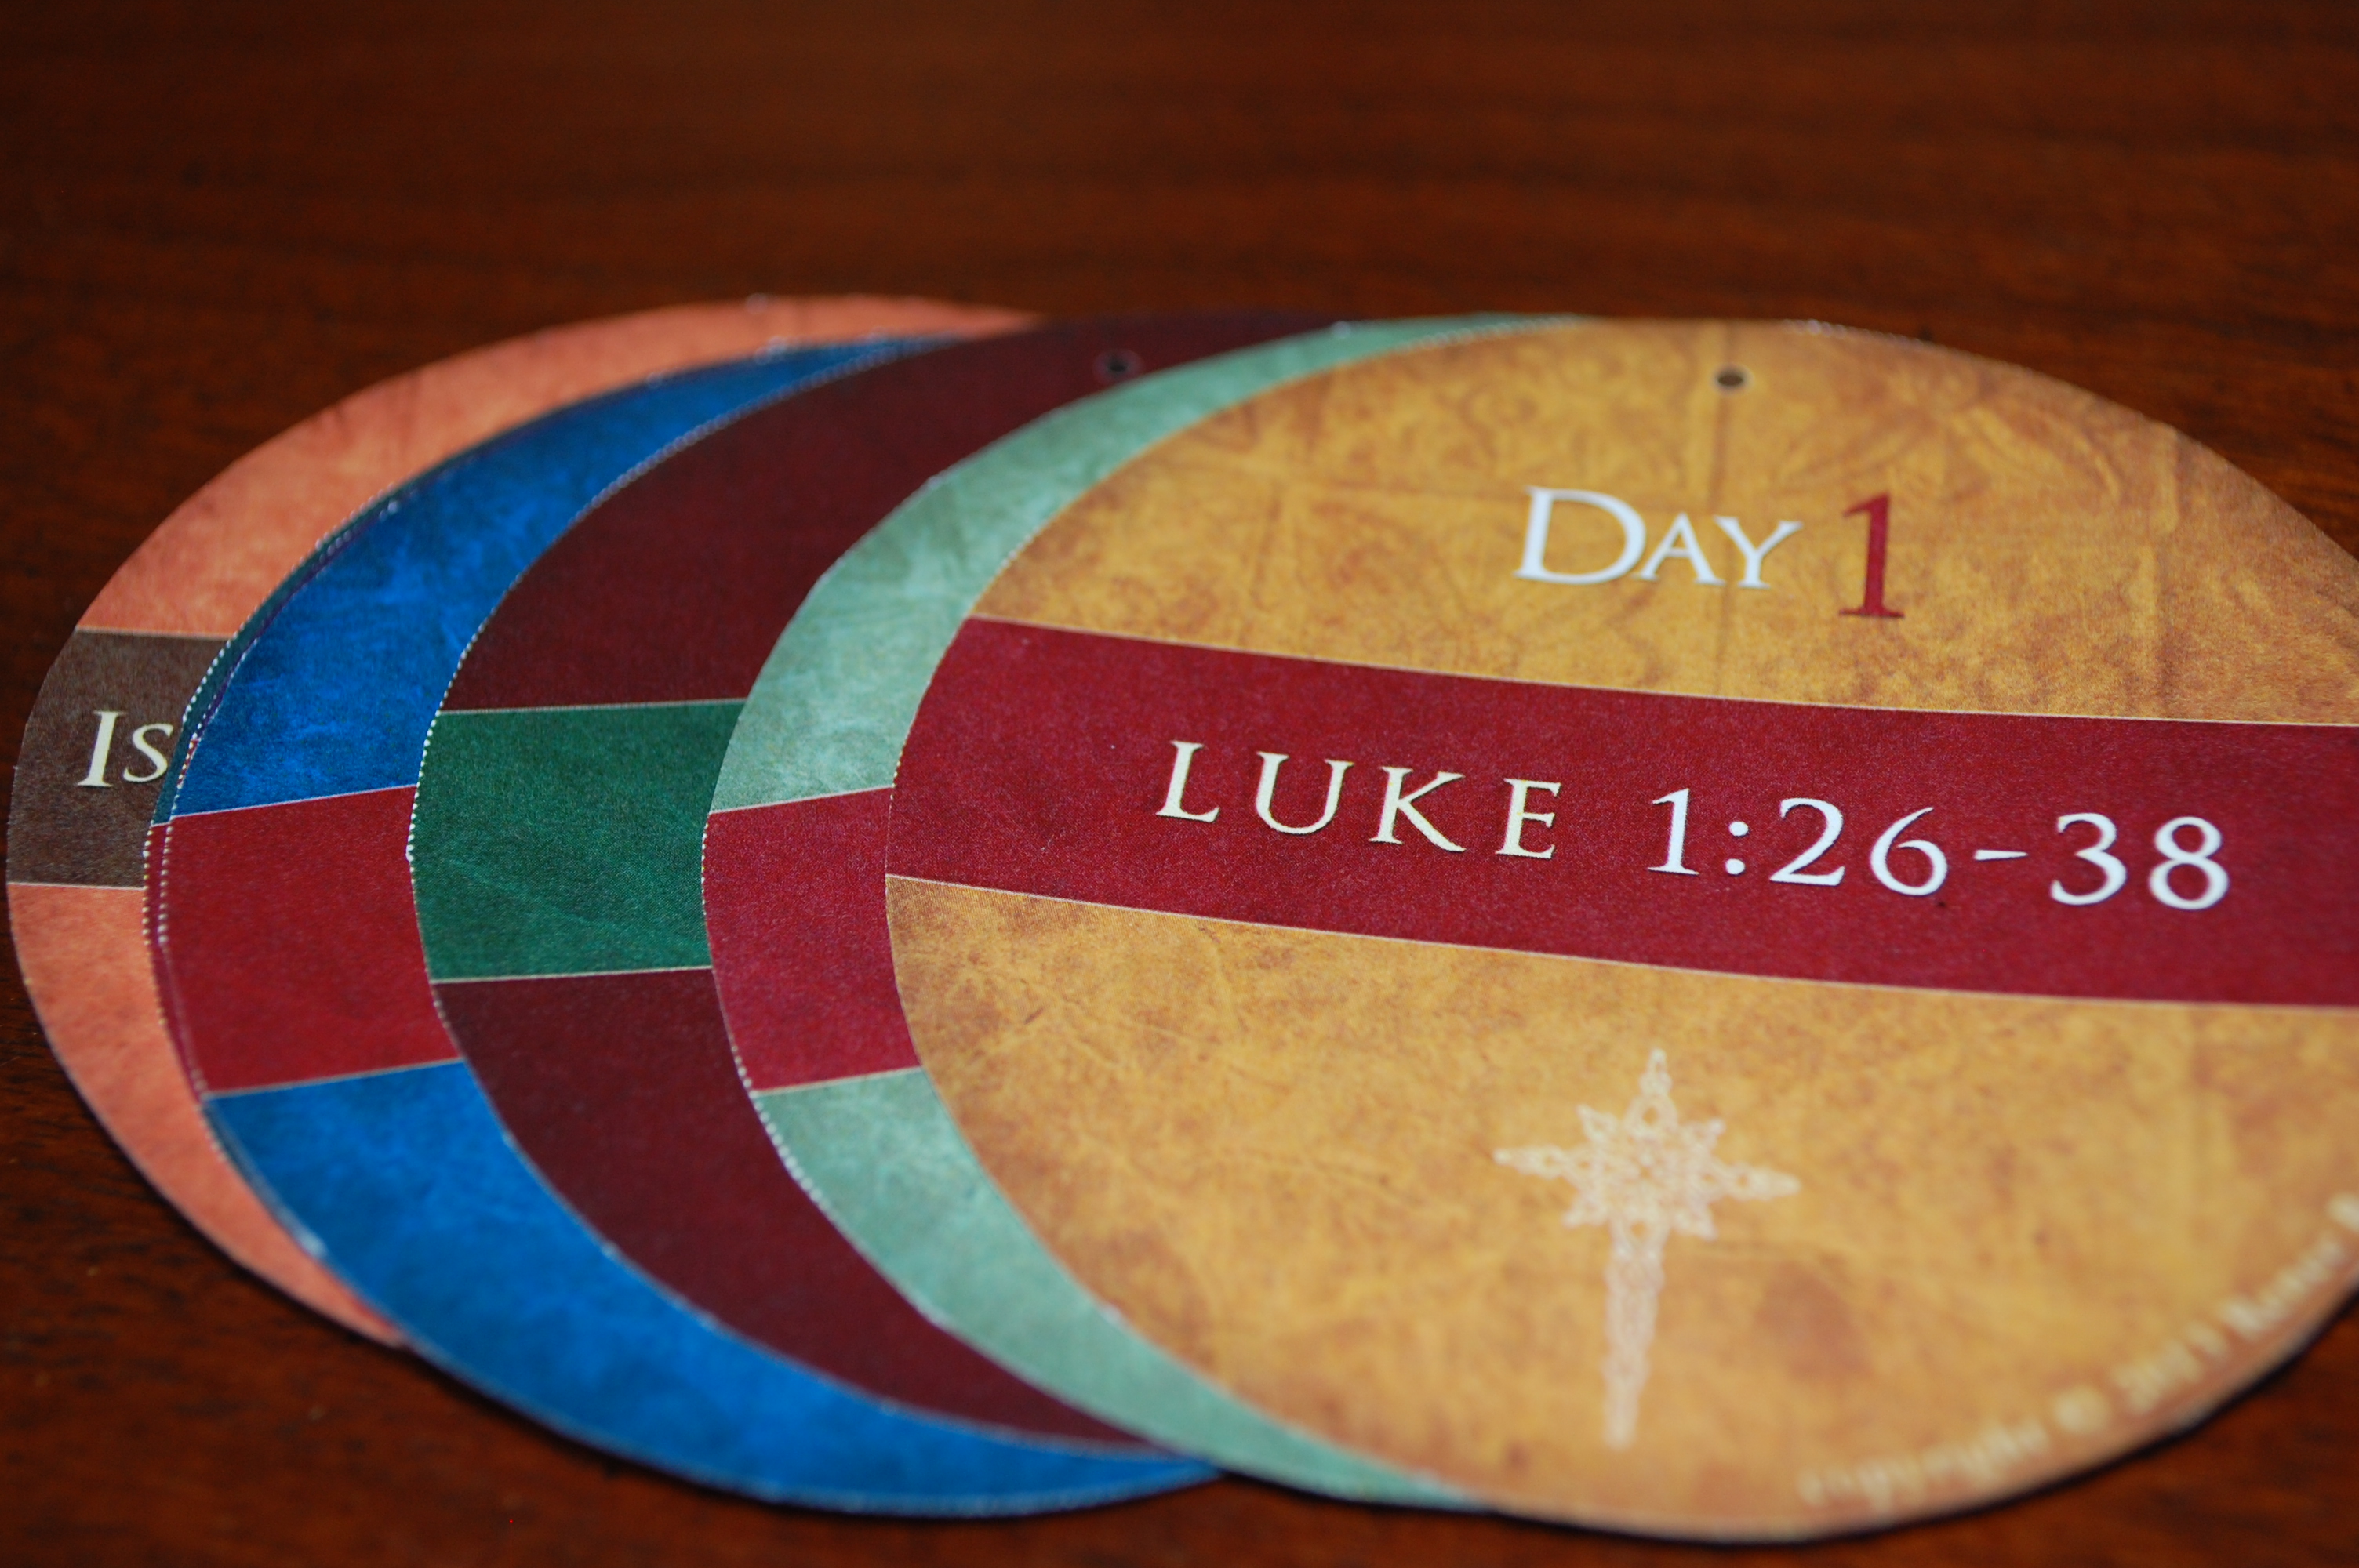
After selecting your ornament material, you will print your downloads. I suggest uploading to a copy center such as Staples, Office Depot etc. It’s 59 cents a copy. To me it was easier. I selected the paper weight (I suggest 110 weight white card stock), uploaded the file, and chose pickup location and time. Print at home if that is easier for you!
Next, cut out your circles. The super crafty people will have tools to cut perfect circles. I used good old fashioned scissors and worked carefully.
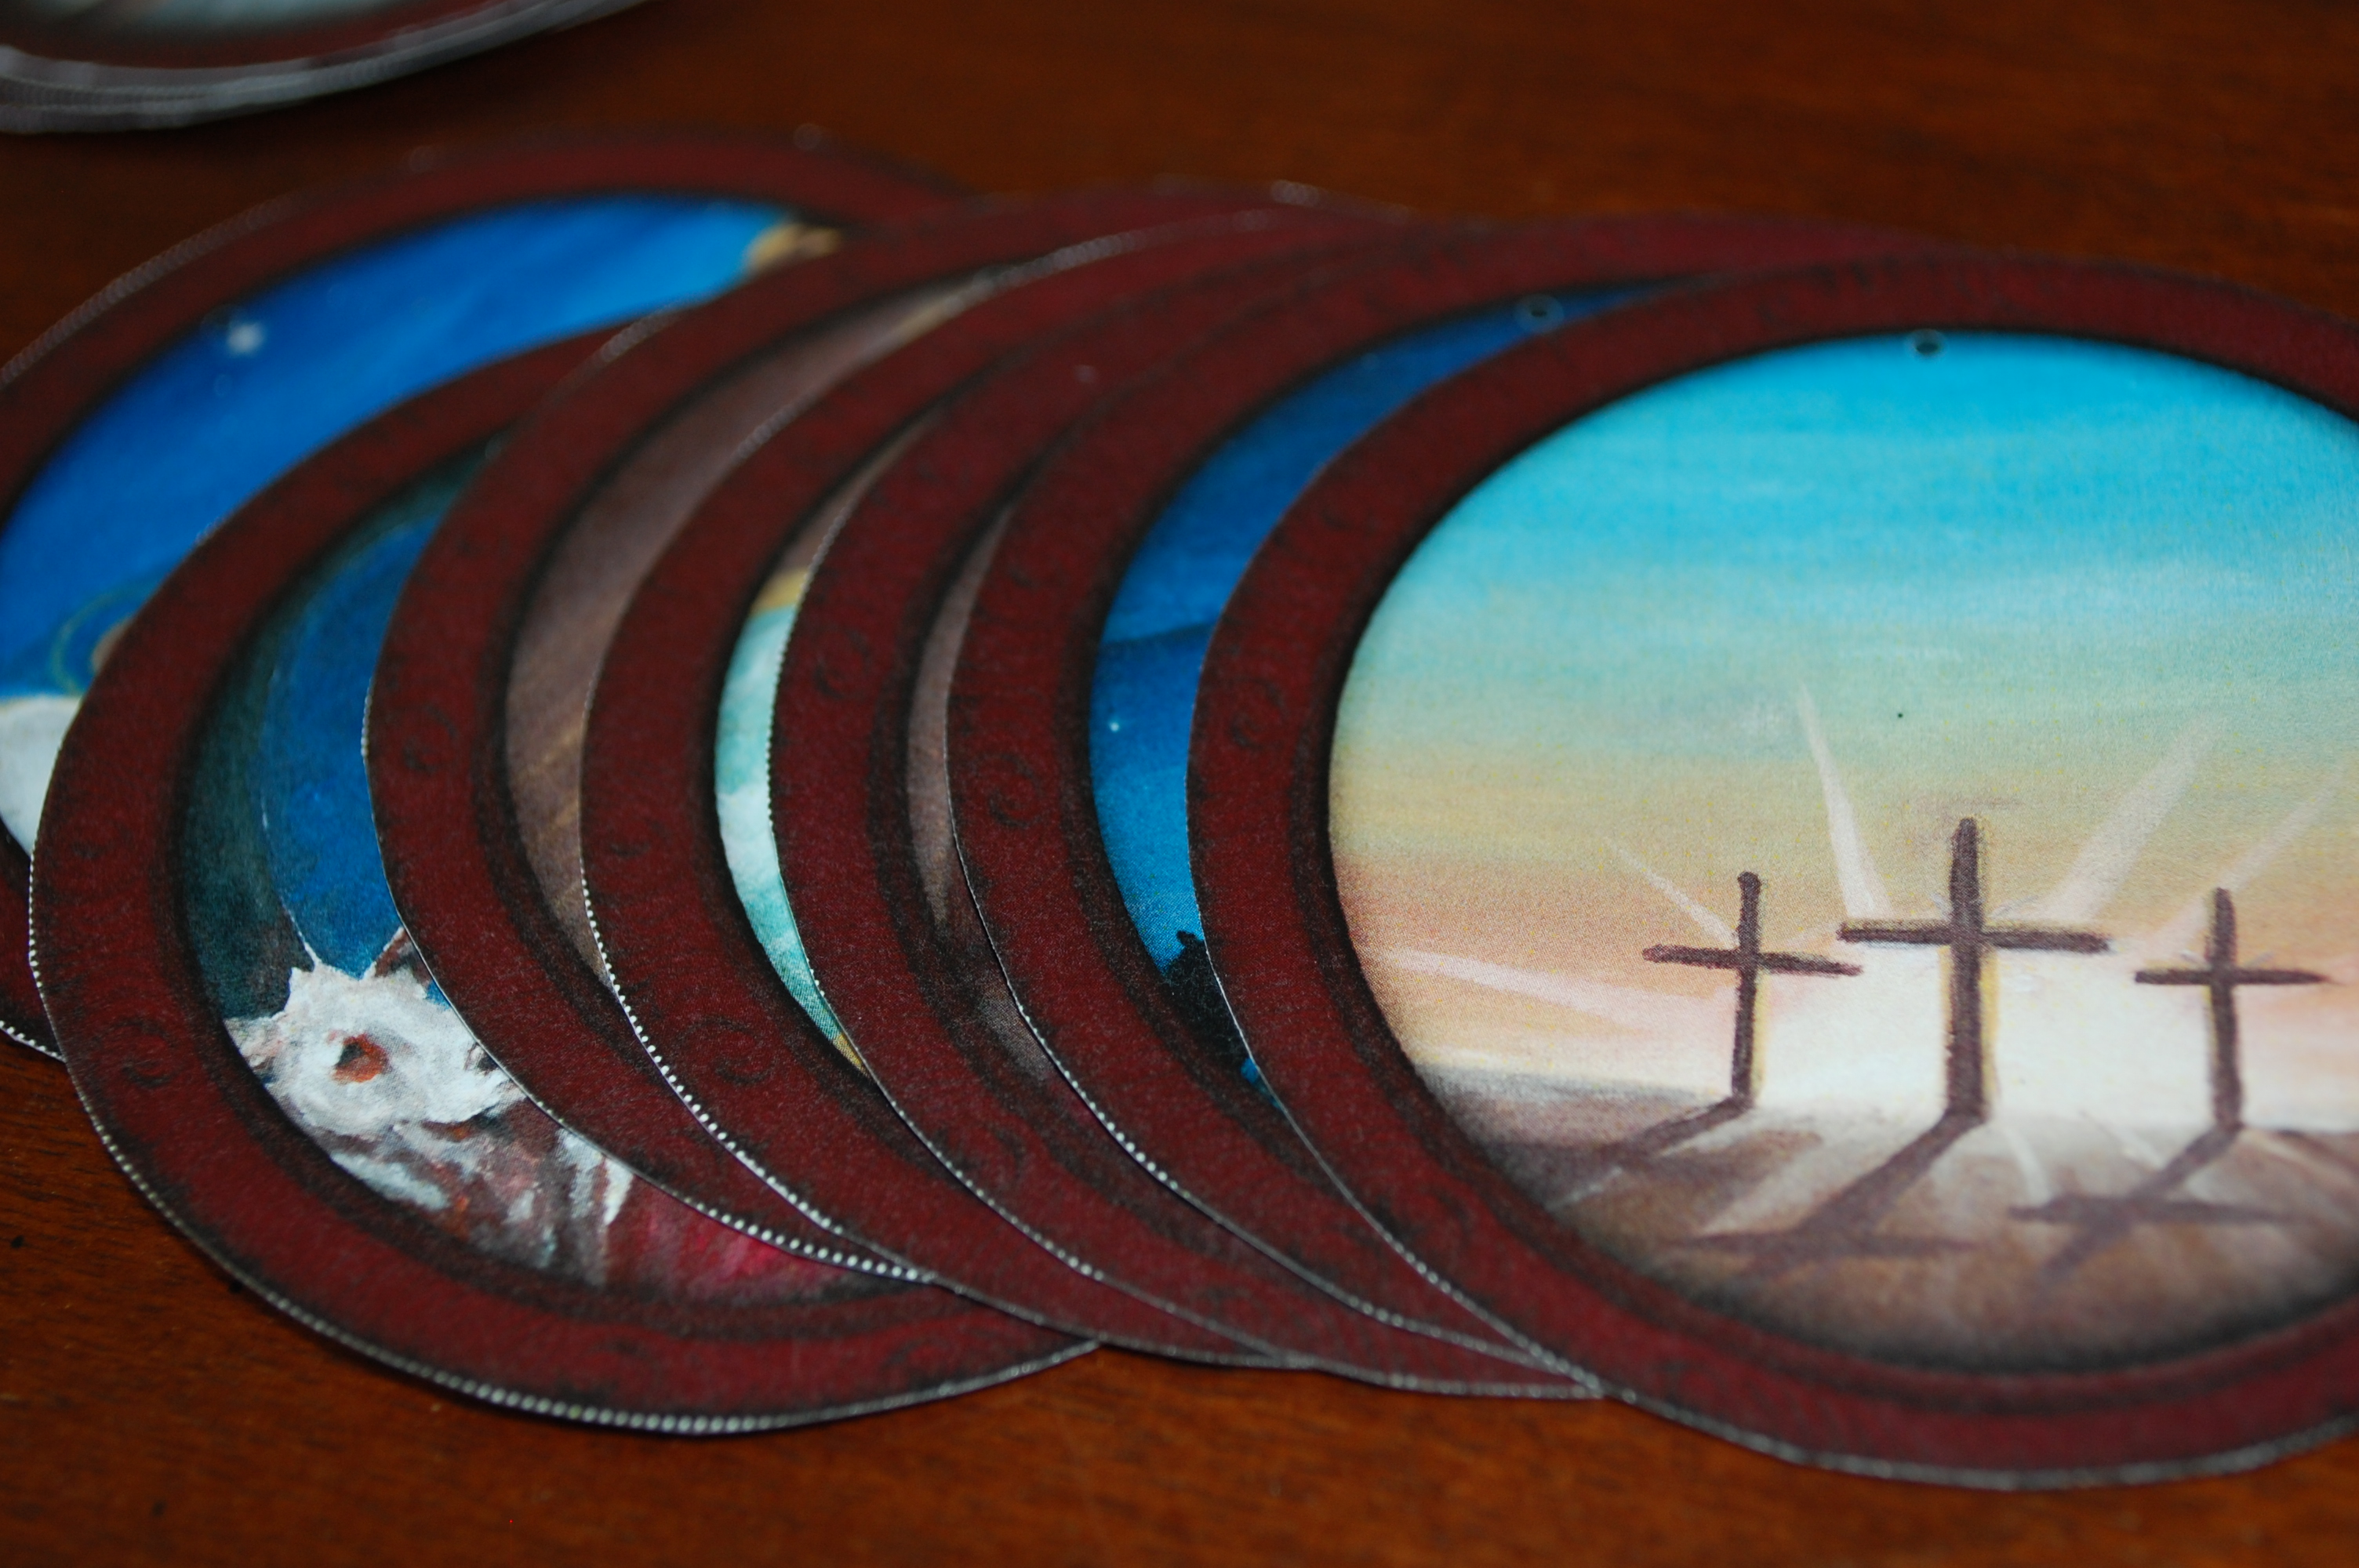
Here are the cut outs
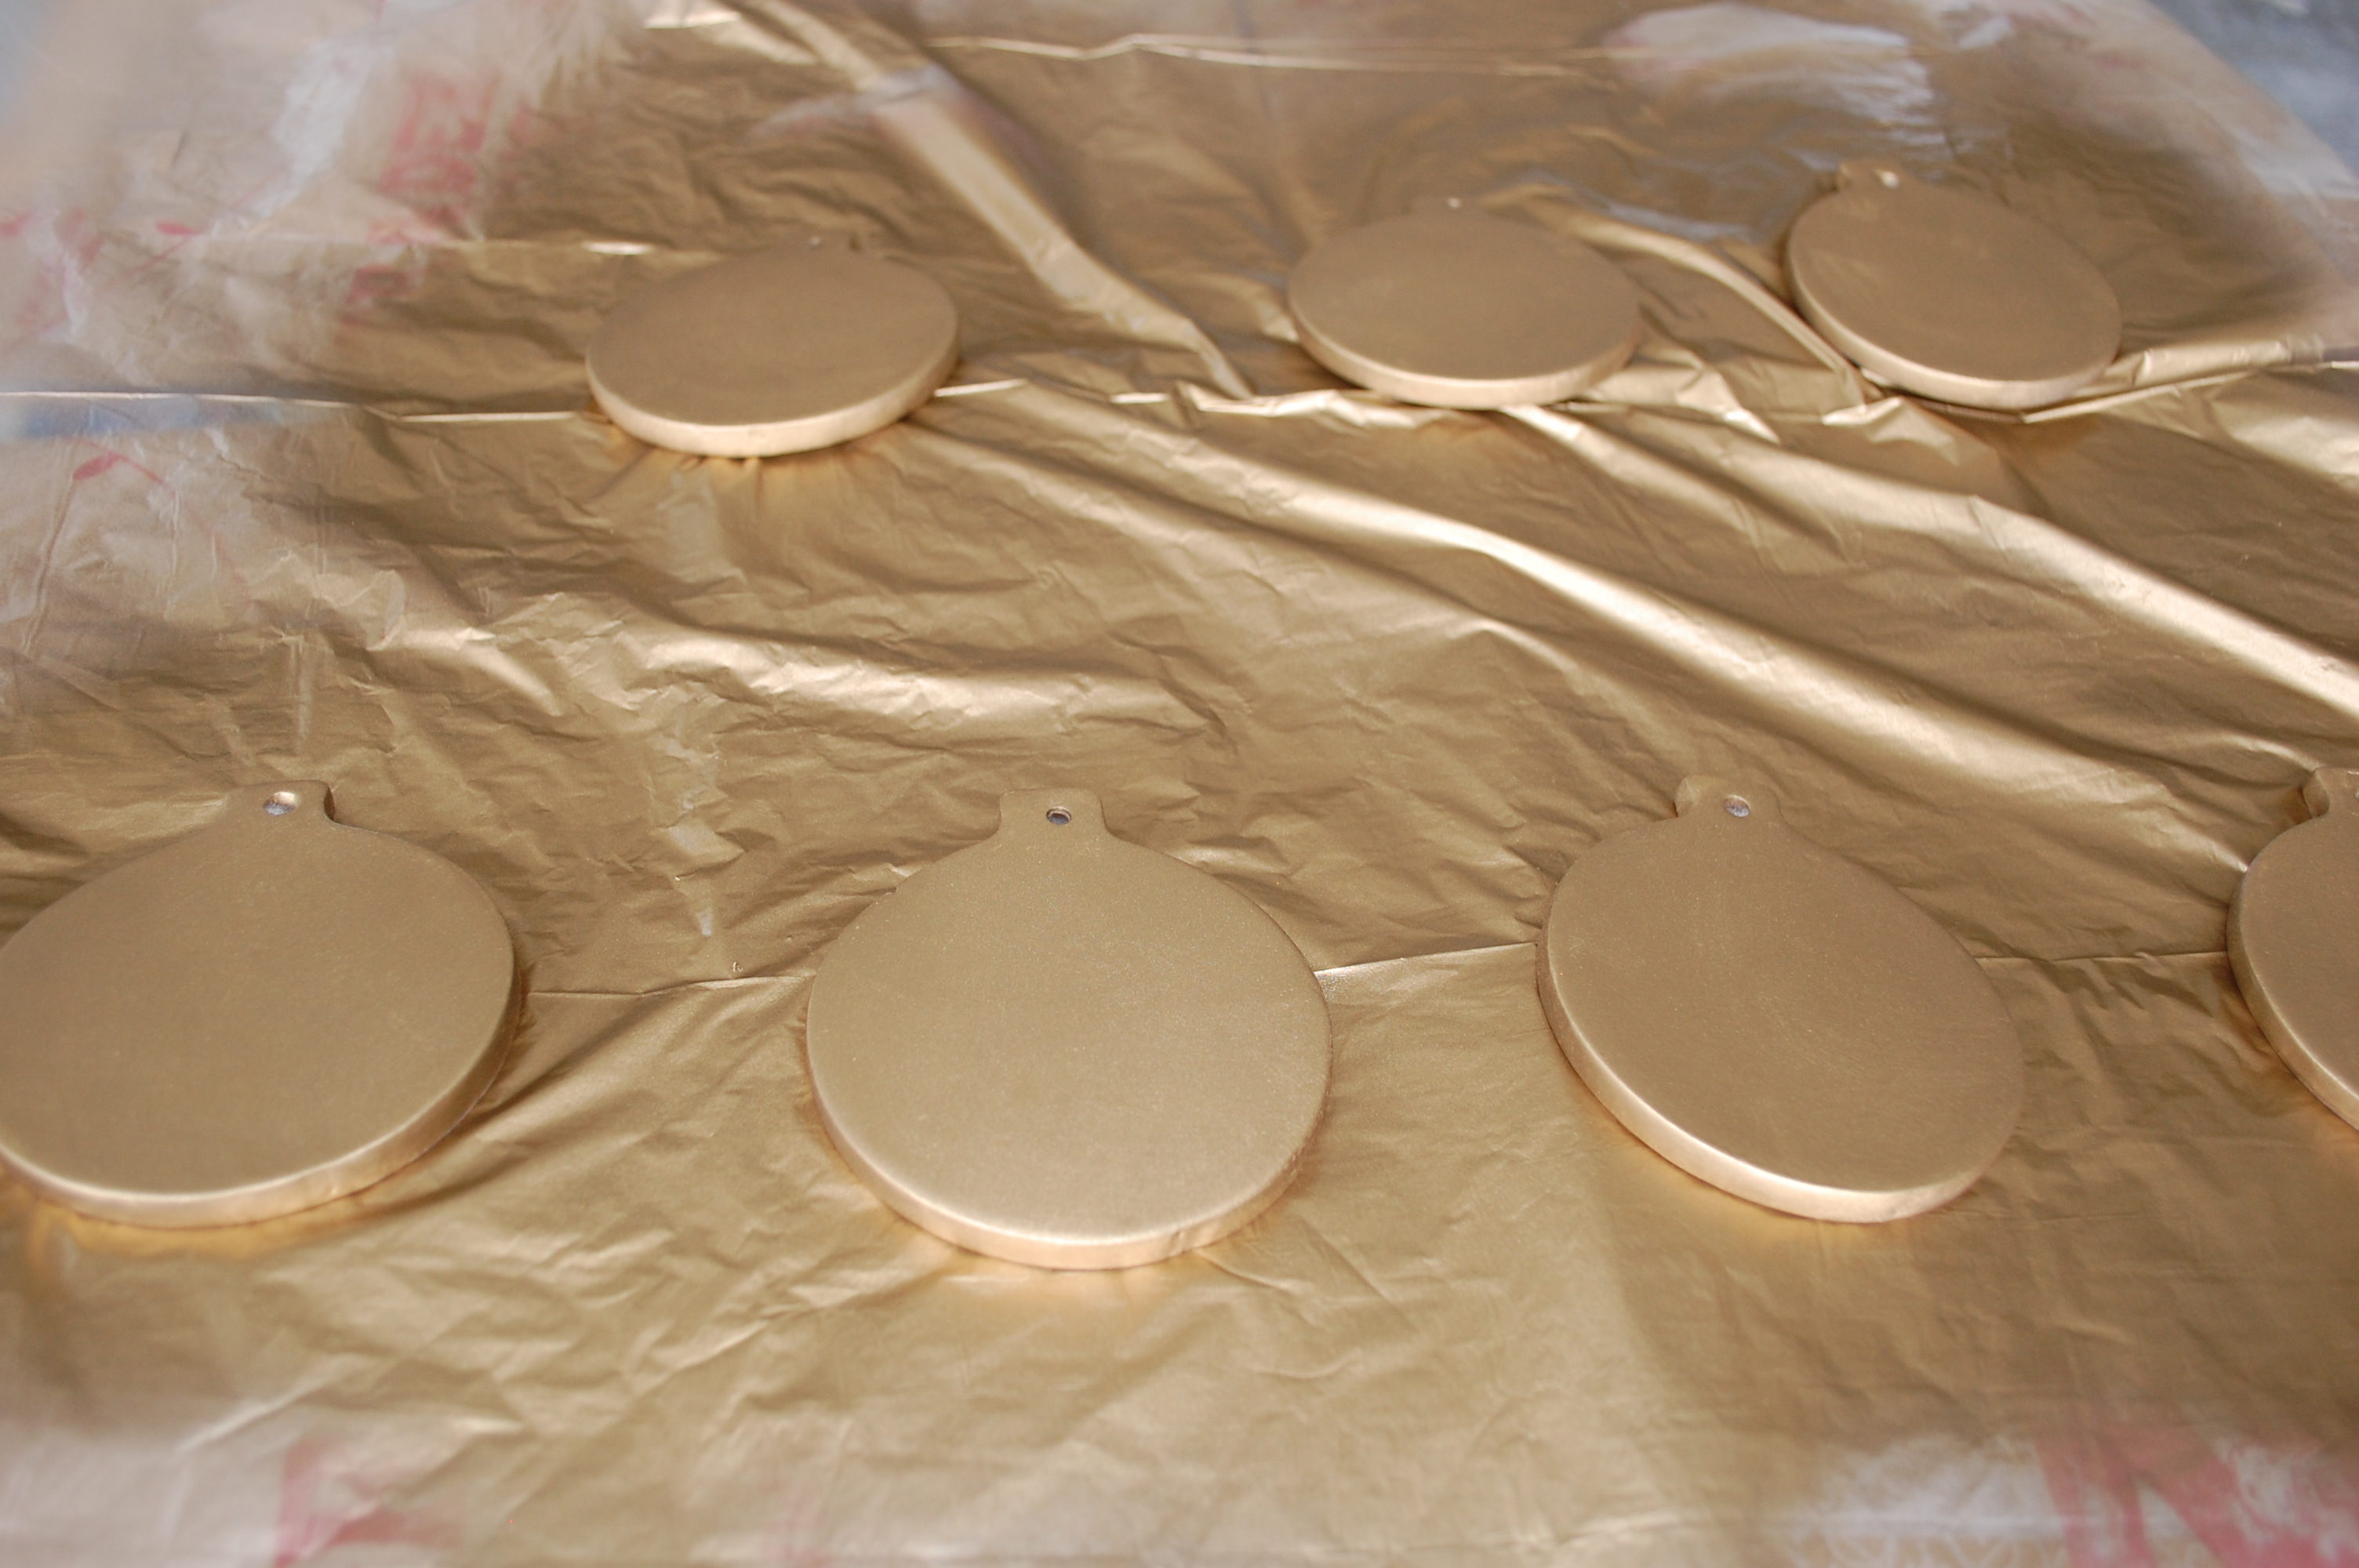
I then spray painted my ornaments. So fast. I like short cuts. Another option is acrylic. Both work just as well.
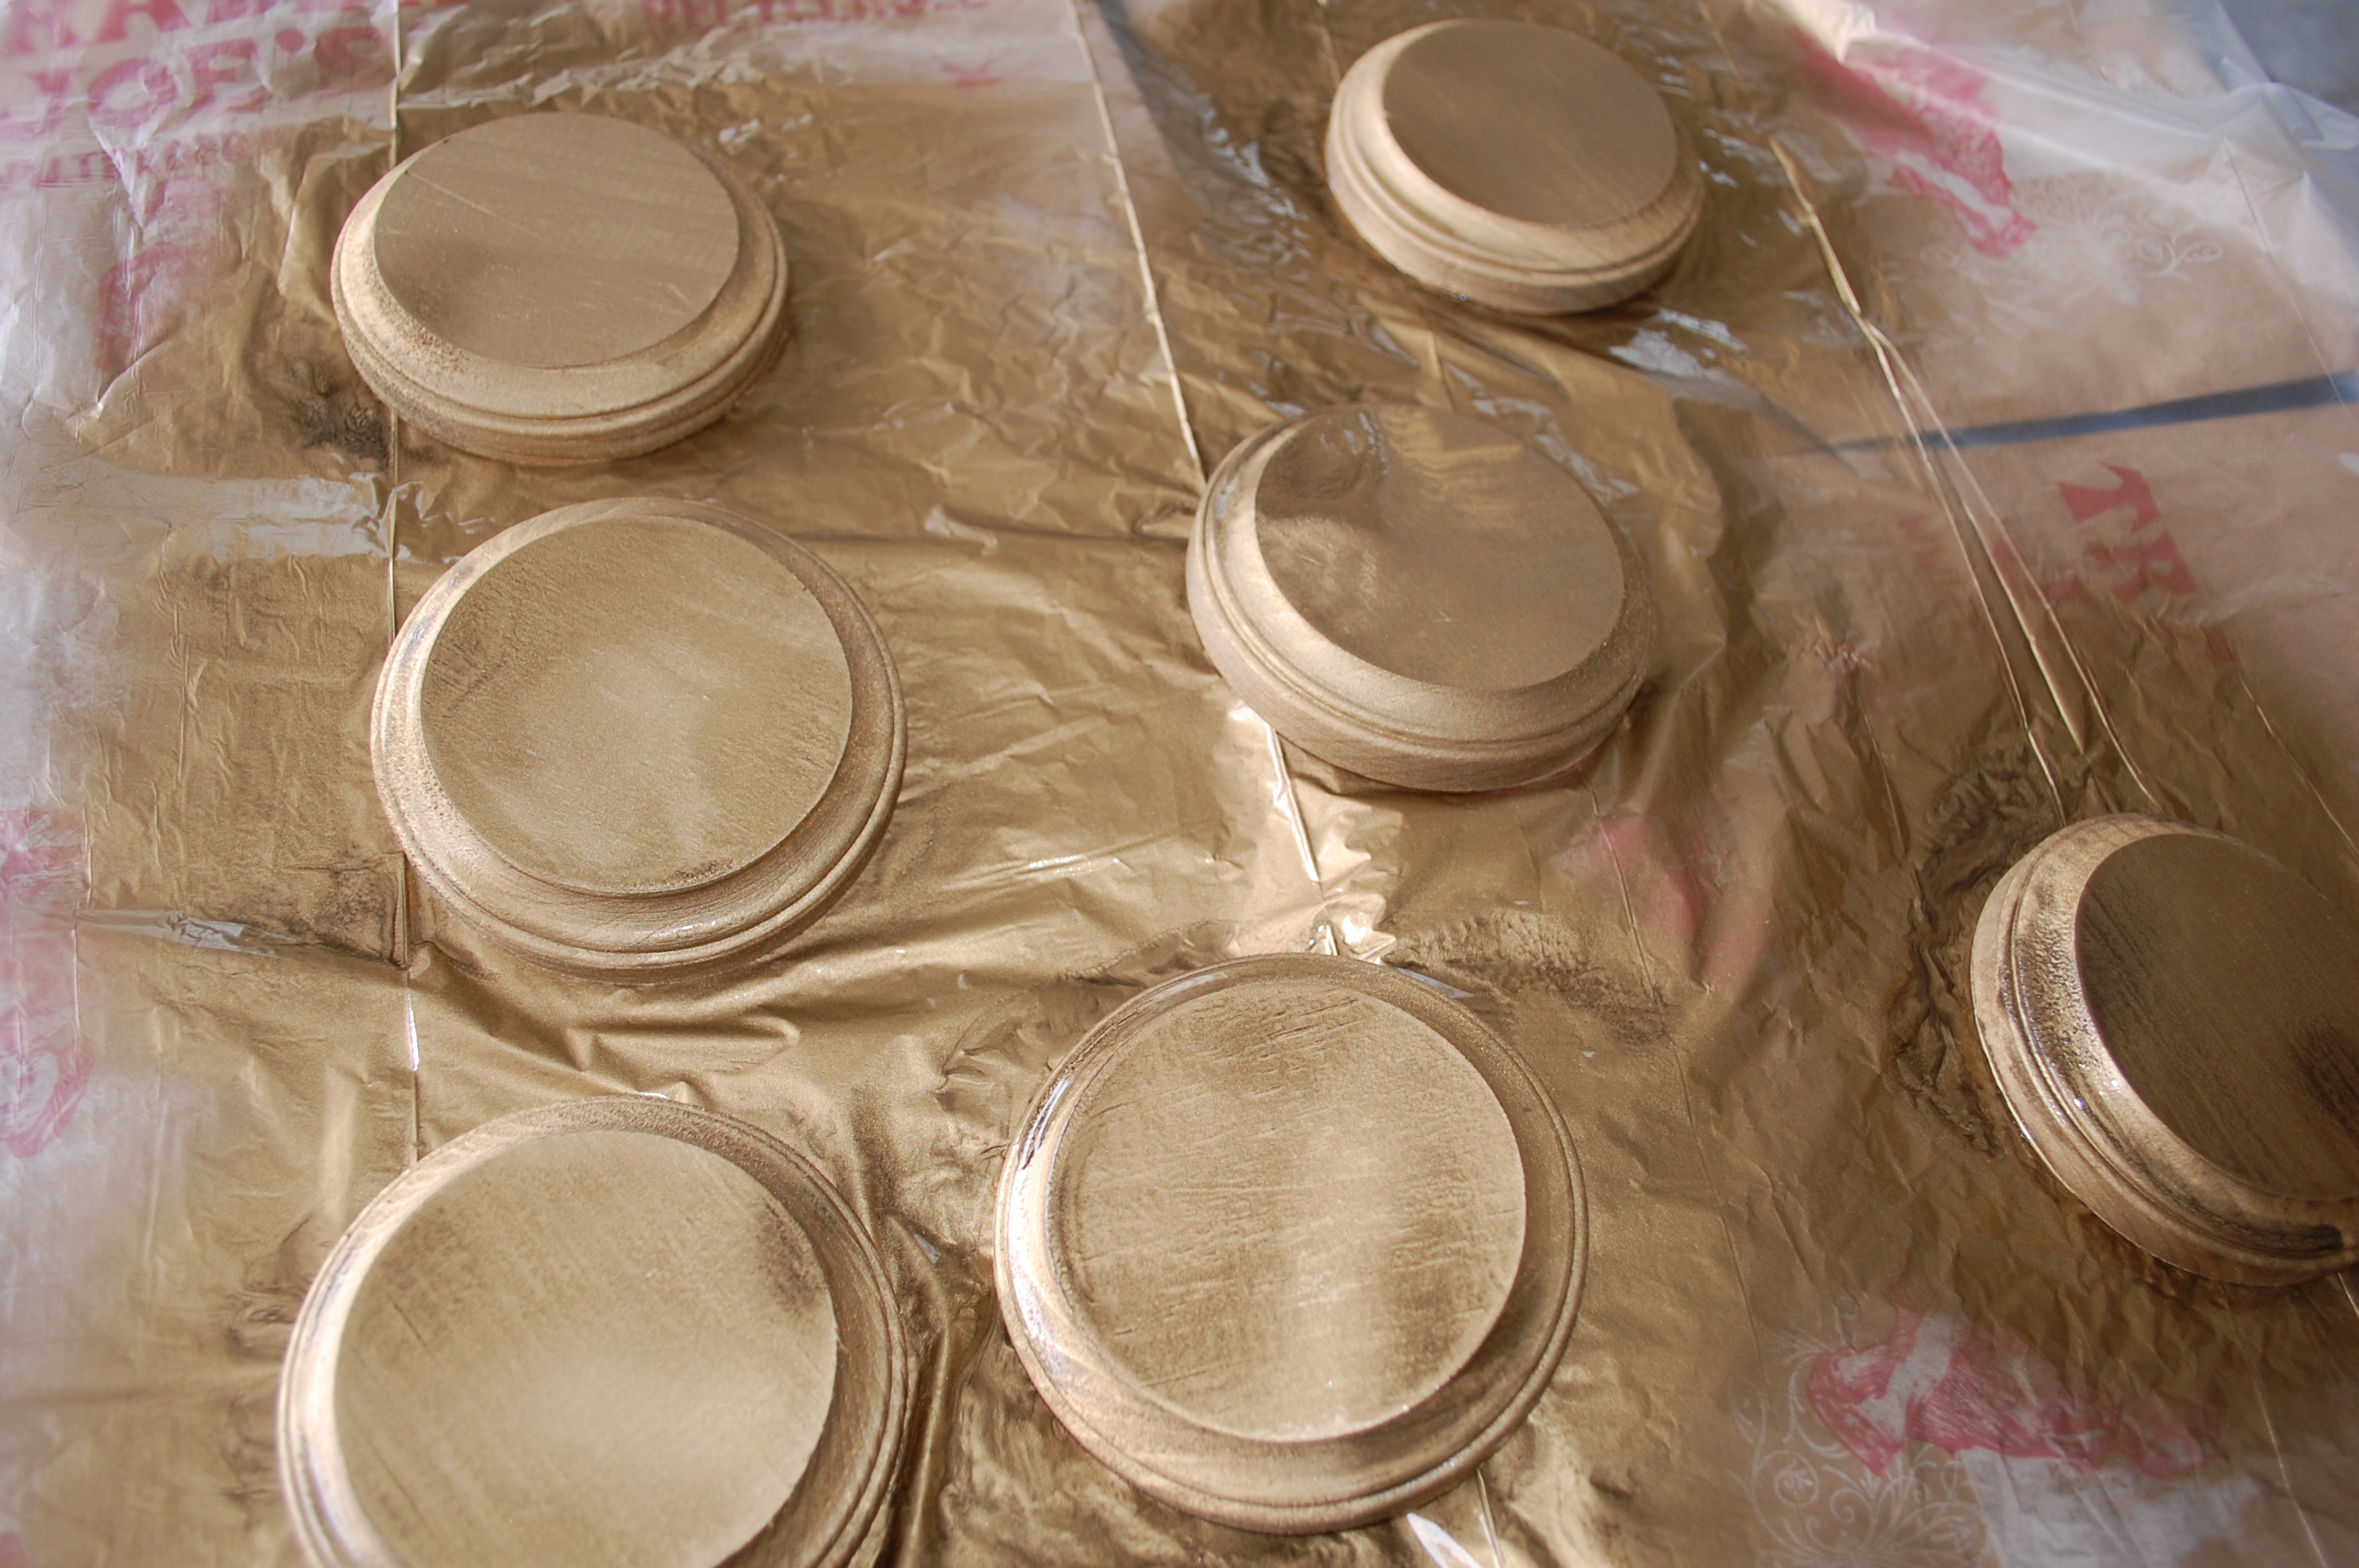
After paint dries completely, you will glue on the ornament cut-outs. I use Mod Podge because I simply love it. Just a good all in one glue and sealer.
Apply a coat of Mod Podge to each ornament and place the cut-out on the glue covered surface.

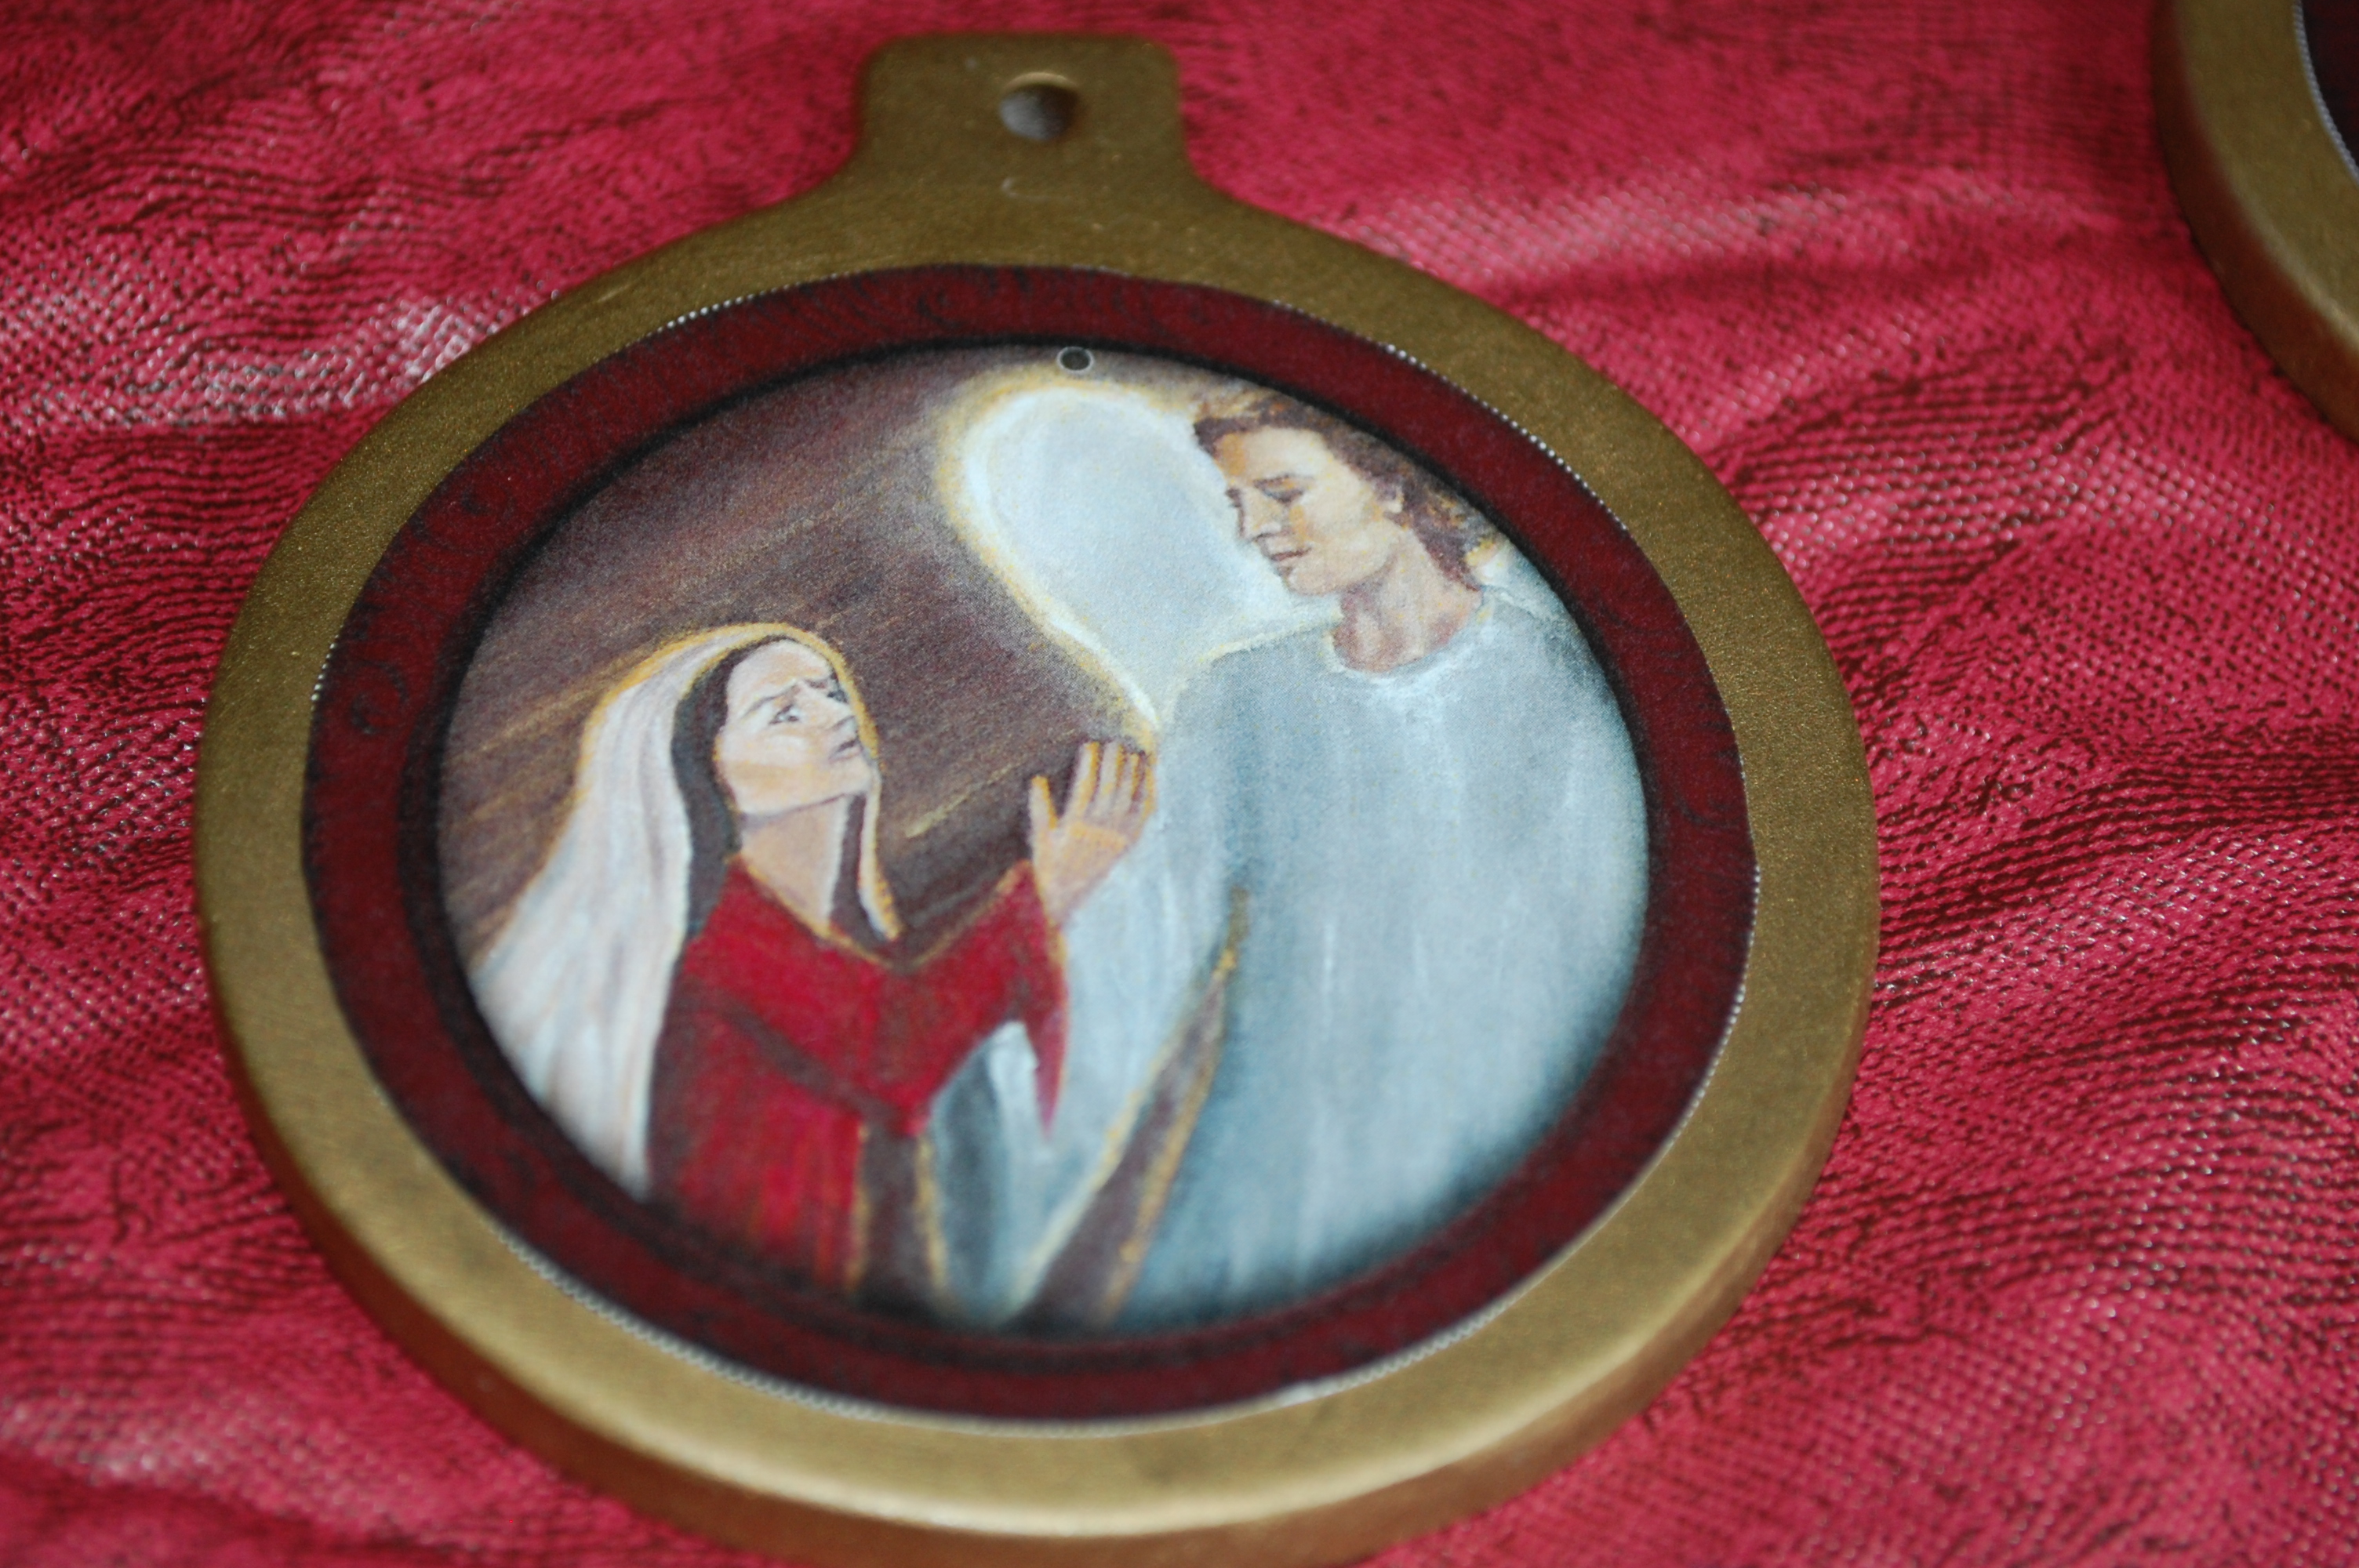
Then you seal with a coat of Mod Podge. Simply paint it on, trying to stay in the same direction. Let dry about 20 minutes before doing the other side.
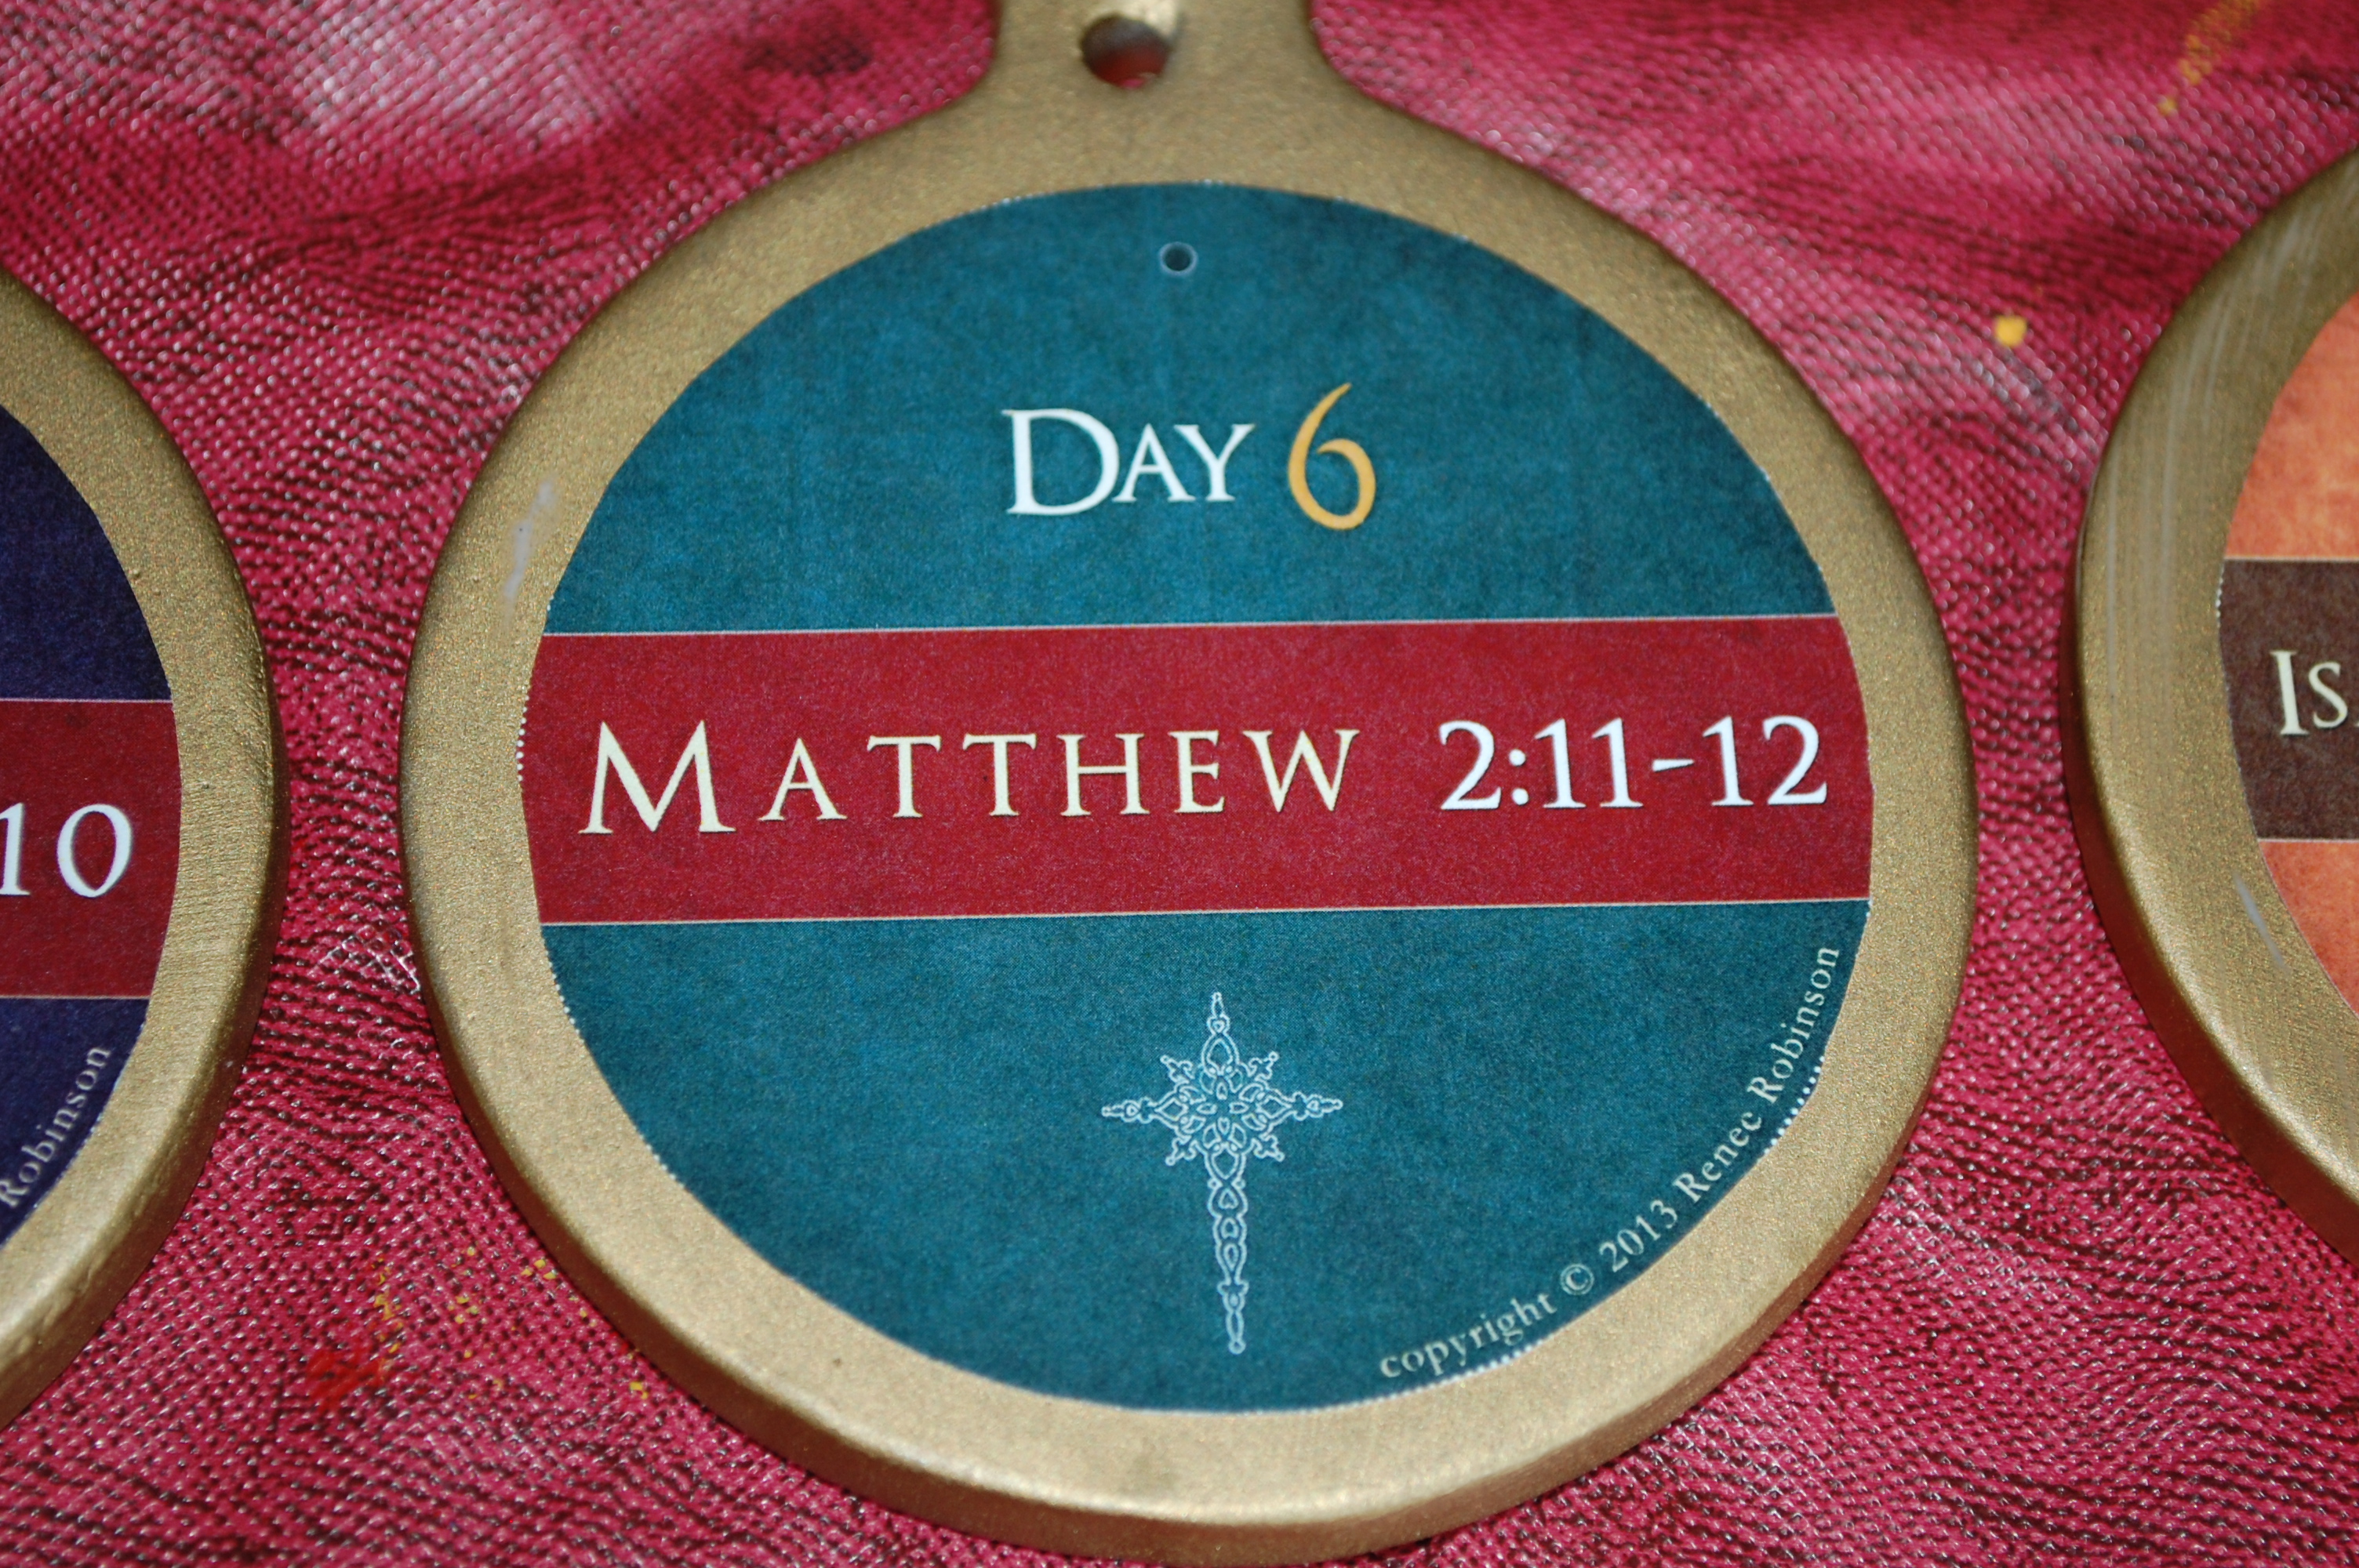
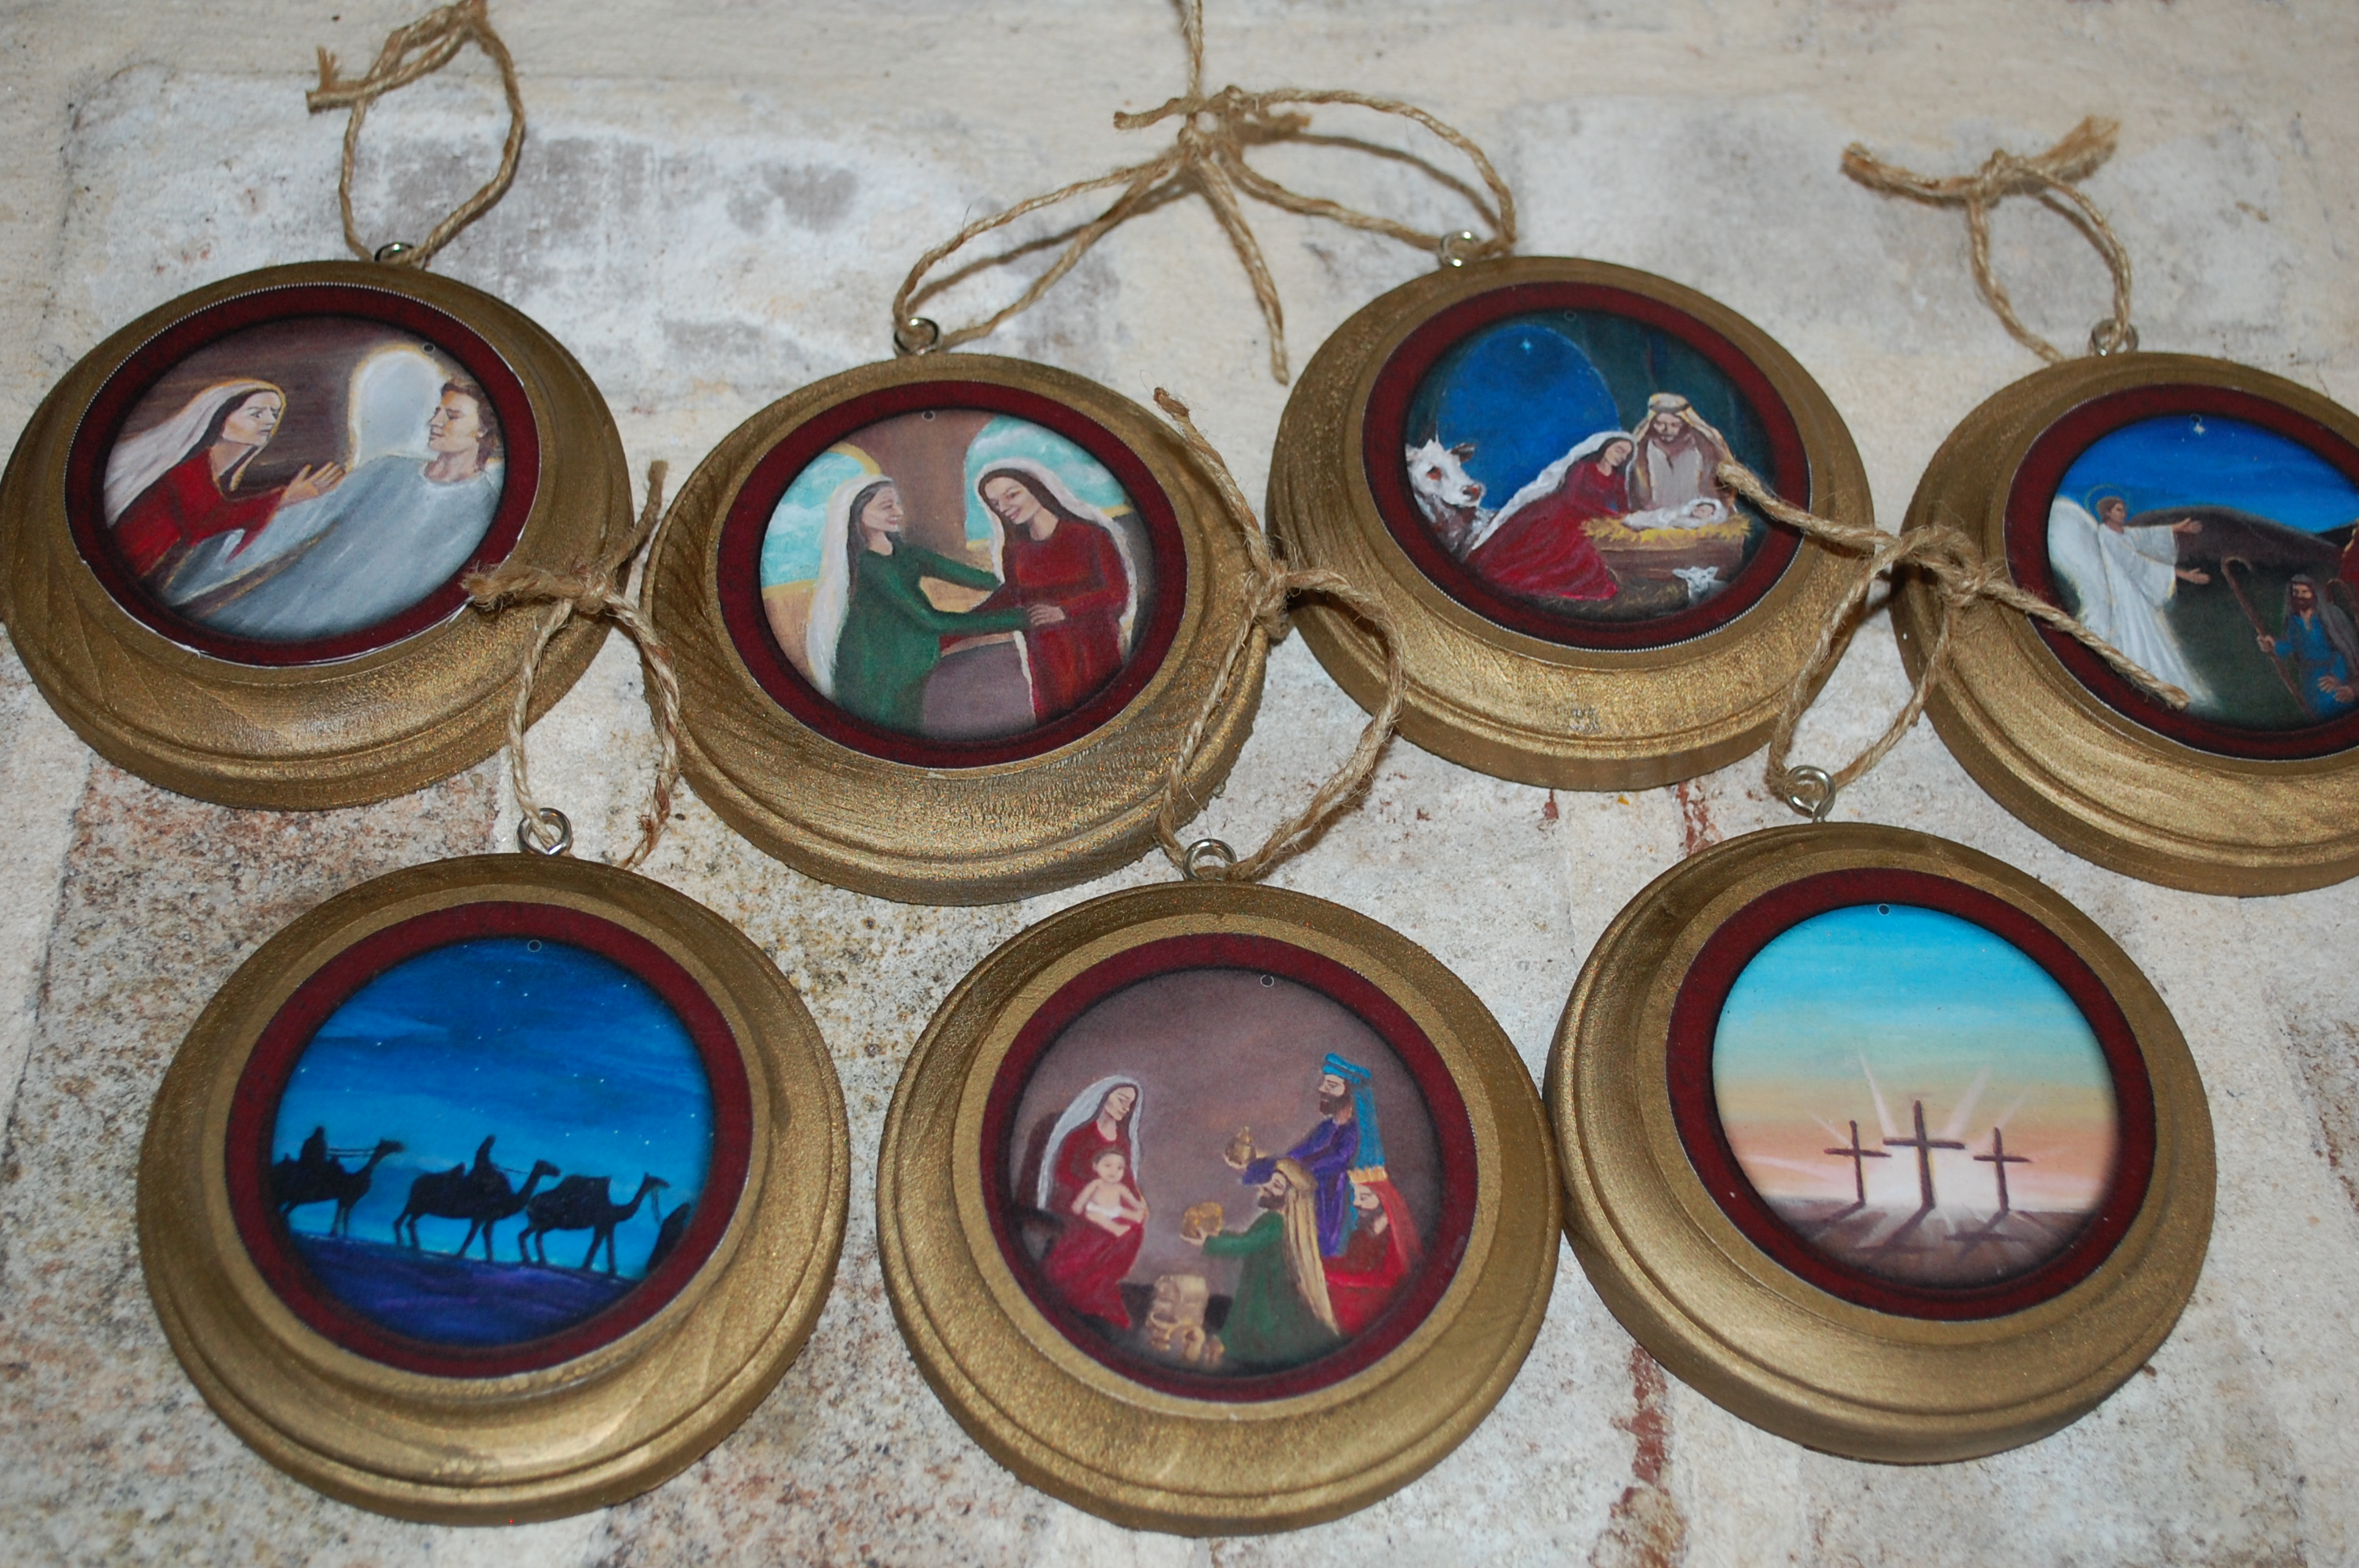
Finished products
[box] If you enjoyed today’s post, consider subscribing here to receive posts via email. You will receive a free Christmas ornament download that accompanies Seeking Christmas – Finding the True Meaning Through Family Traditions.[/box]